 Dungeon Field Guide
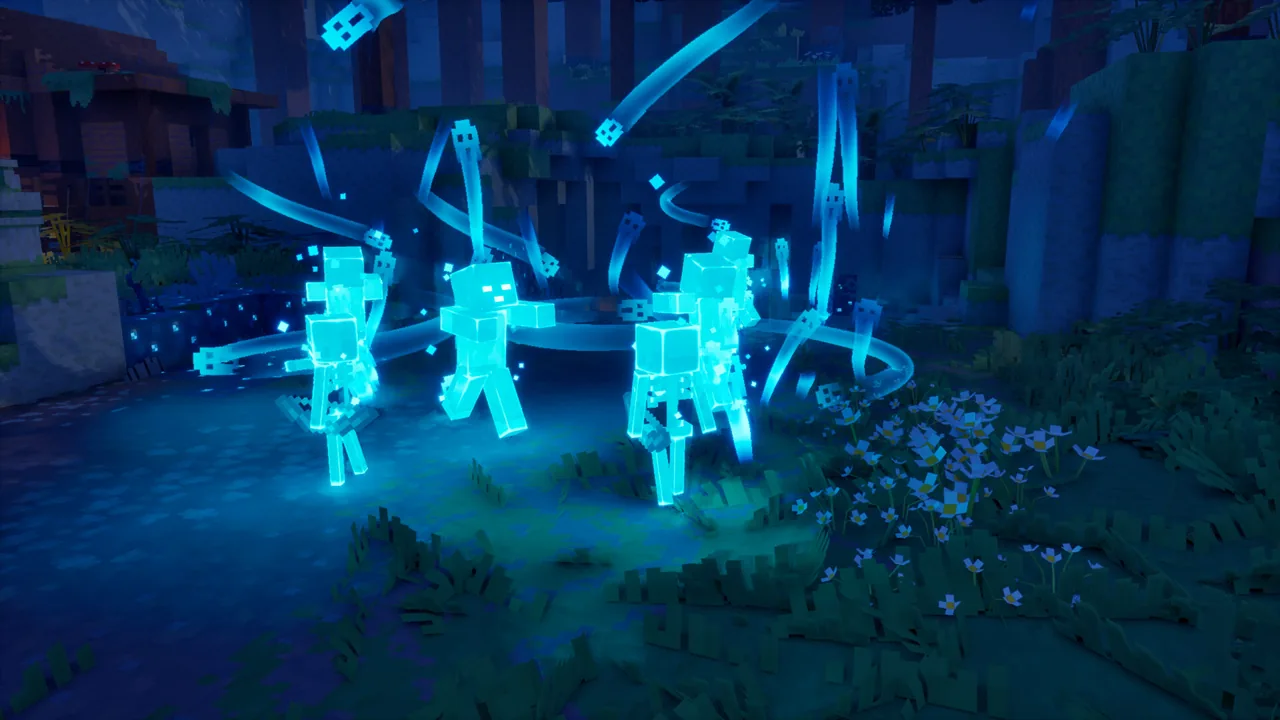
Explore a connected world
Follow the main quest to keep your objective clear, then use nearby settlements and fast-travel hubs as anchors for exploration. Optional structures can give you a reason to leave the main path without treating every detour as the next story objective.
What to keep track of
- Current main objective
- Keeps a detour from becoming a lost story route.
- Discovered travel hubs
- A way back to places you already know.
- Optional caves and ruins
- Their layout may not repeat exactly.
- Gear before entering
- Makes it easier to judge whether a new setup helped.
A fixed map has limits
A picture of one cave visit cannot promise the same corridor layout for every run. Players have also described difficulty telling a walkable edge from a wall or finding the correct way up. This is feedback about map readability, not confirmation that the game marks routes incorrectly. Use the current in-game map for navigation inside changing areas.
- A wall and a passable edge look similar
- Note the region and visible landmark, then capture the in-game screen from the point where the route becomes unclear. Do not assume an edge shown in another player’s image is walkable.
- Several quest or boss markers look alike
- Record which marker you followed and whether it led to a repeatable boss or a main objective. The guide does not have a verified map key that replaces the in-game icons.
- A cave layout differs from a screenshot
- Treat the screenshot as one visit only; record the current objective and nearest known travel hub rather than following a fixed corridor diagram.
If a door or boss encounter will not reset
One recent Steam review describes a Sift gate closing after a solo player was AFK-kicked, with the keys no longer visible after reloading; the same player reports a separate Enchanter retry that returned them to the arena without its expected transition. This is one player report, not a confirmed widespread defect or official known issue.
- The gate closed and its keys are missing
- Before leaving, note the exact quest, gate, key count, platform, version and solo/online mode. Recheck the objective and nearby area once; do not use boundary breaks or delete/reset a hero to force progress.
- A boss retry starts in the wrong place
- Move to a safe area if possible, capture the objective and arena state, then retry the encounter only if the in-game route remains available. Record whether the boss, cutscene or arena transition appeared.
- You are considering reloading
- First confirm the hero and online/offline mode you intend to resume in the save-mode guide. A reload or sign-in is not a guaranteed fix; avoid changing accounts or deleting local data as an experiment.
- The issue remains after a safe recheck
- Keep the session details and a short clip or screenshot, then use the crash and bug-report checklist. The current Steam hotfix notes list specific crash fixes, not a promise that this progression issue is fixed.
If the Twisted Warden statue will not respawn the boss
- A separate Steam player report describes opening the statue, backing out before accepting, and then seeing no prompt on return. Treat it as an individual report, not an official known-issue notice.
- Some players report that leaving and signing back in restored the interaction, but this is not guaranteed. Before trying it, note whether you are online or offline and confirm the account and hero you intend to resume in the save-mode guide.
- After returning, check whether the prompt is back. If the quest remains blocked, record the boss, dungeon, platform, game version and whether signing in changed the prompt; use the bug-report checklist.
Prepare before another excursion
The beginner guide covers the new gear slots. Keep your current setup in the loadout planner and inspect the equipment catalogue when comparing a new drop. For a group run, read crossplay before sharing the party code. For players asking what remains after the campaign, the post-story checklist tracks personal goals without promising repeatable rewards.